Manage Plugins
You can access the Plugin management interface from the administration menu having the same name. This management includes manually installing or updating, activating, deactivating, and uninstalling Plugins.
Manual Plugin Installation/Upgrade
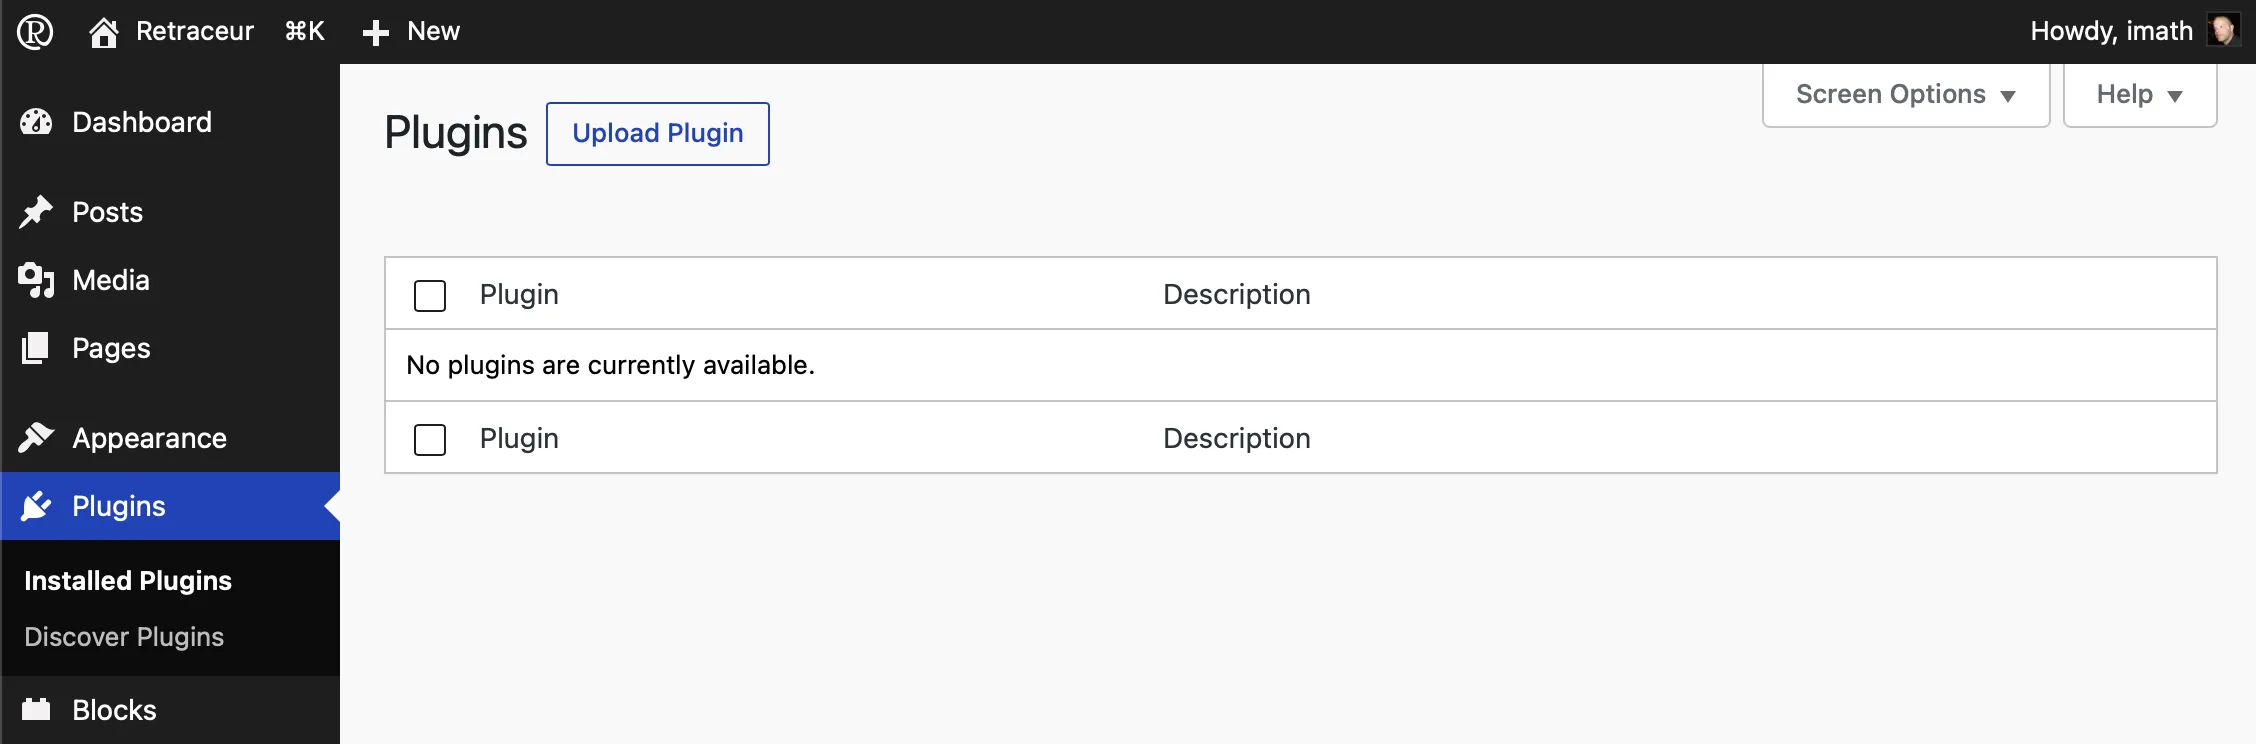
Section titled “Manual Plugin Installation/Upgrade”To manually upload a Plugin’s ZIP archive, start by clicking the “Upload Plugin” button located immediately to the right of the administration page title.
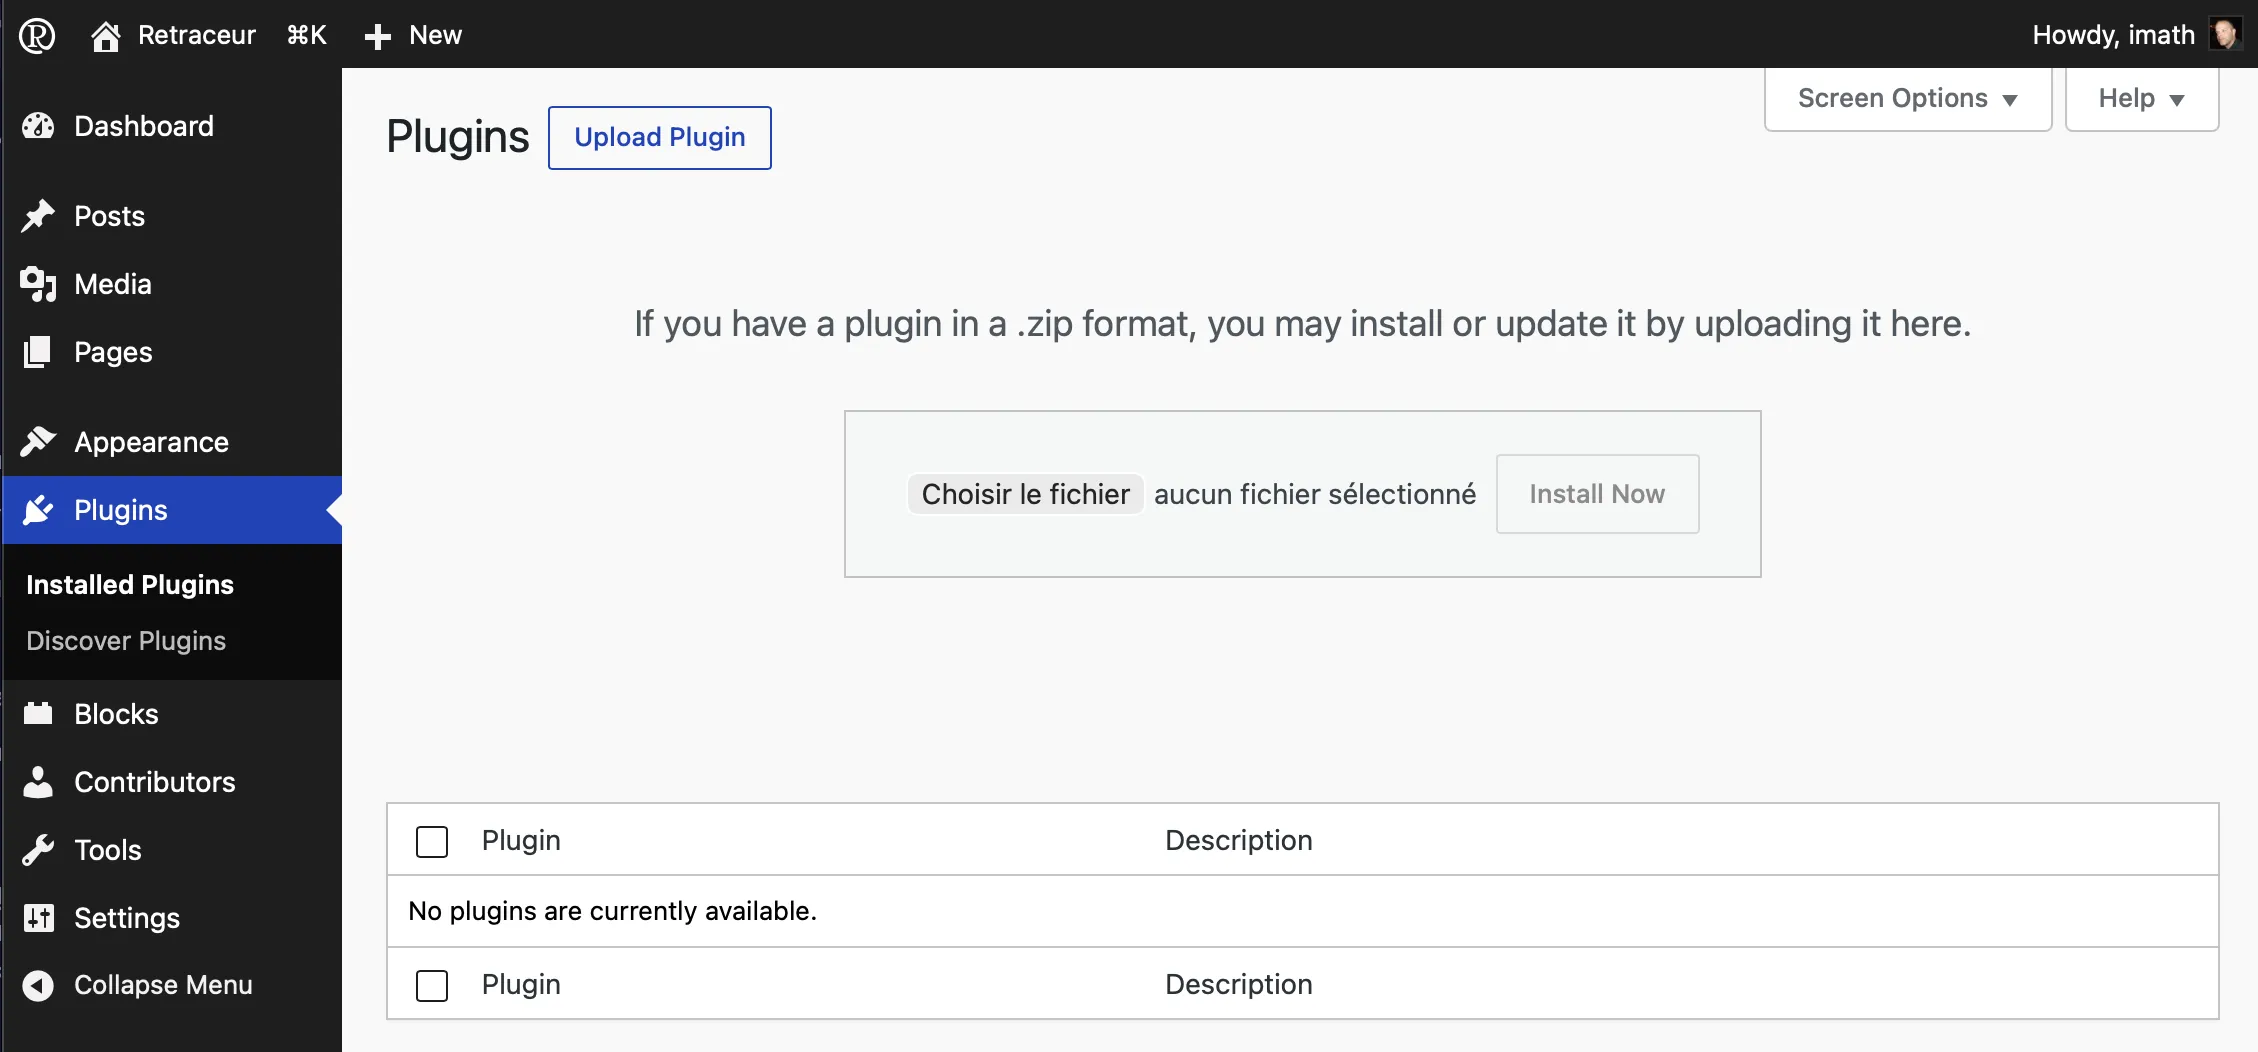
Then use the button that lets you browse the folders on your computer to find and select the Plugin’s ZIP file. Once you’ve done that, click the “Install Now” button to confirm the installation.
Manual Installation
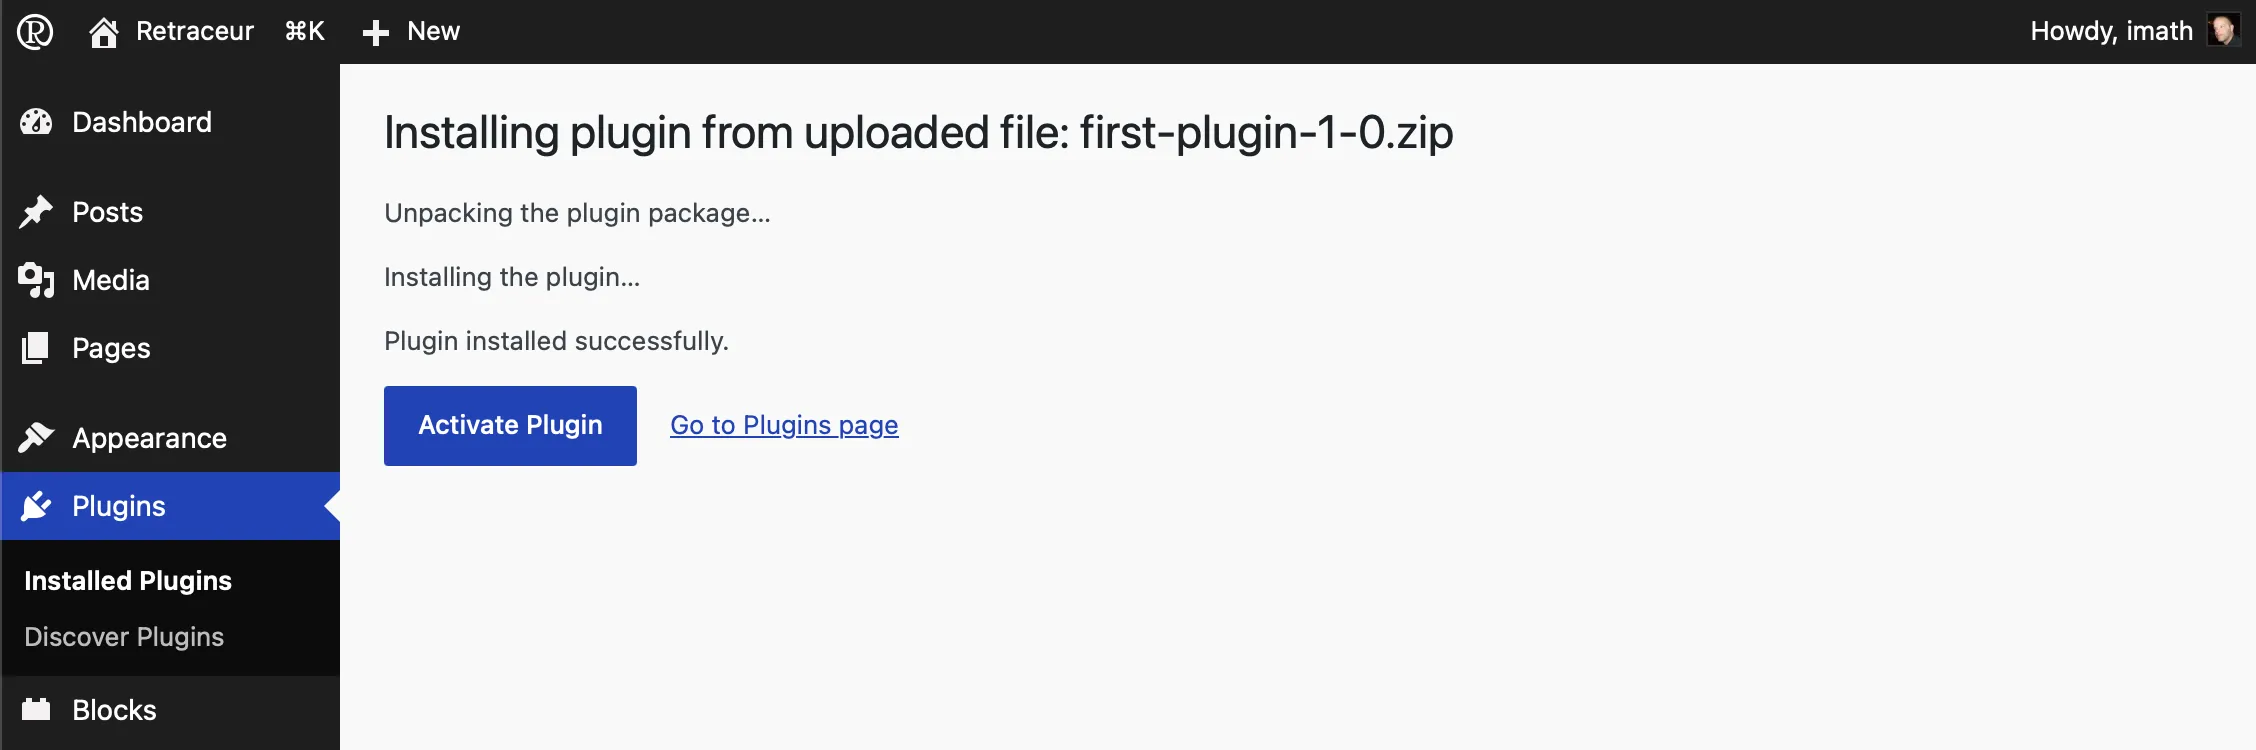
Section titled “Manual Installation”If a Plugin’s directory does not yet exist on your site, Retraceur will create a new directory for it in your website’s parent directory /wp-content/plugins and extract the contents of the ZIP archive into it. Retraceur will then notify you whether the operation was successful or failed.
Manual Upgrade
Section titled “Manual Upgrade”If the Plugin’s directory already exists on your site, a confirmation screen will ask if you want to “overwrite” it with the one from the newly uploaded Plugin.
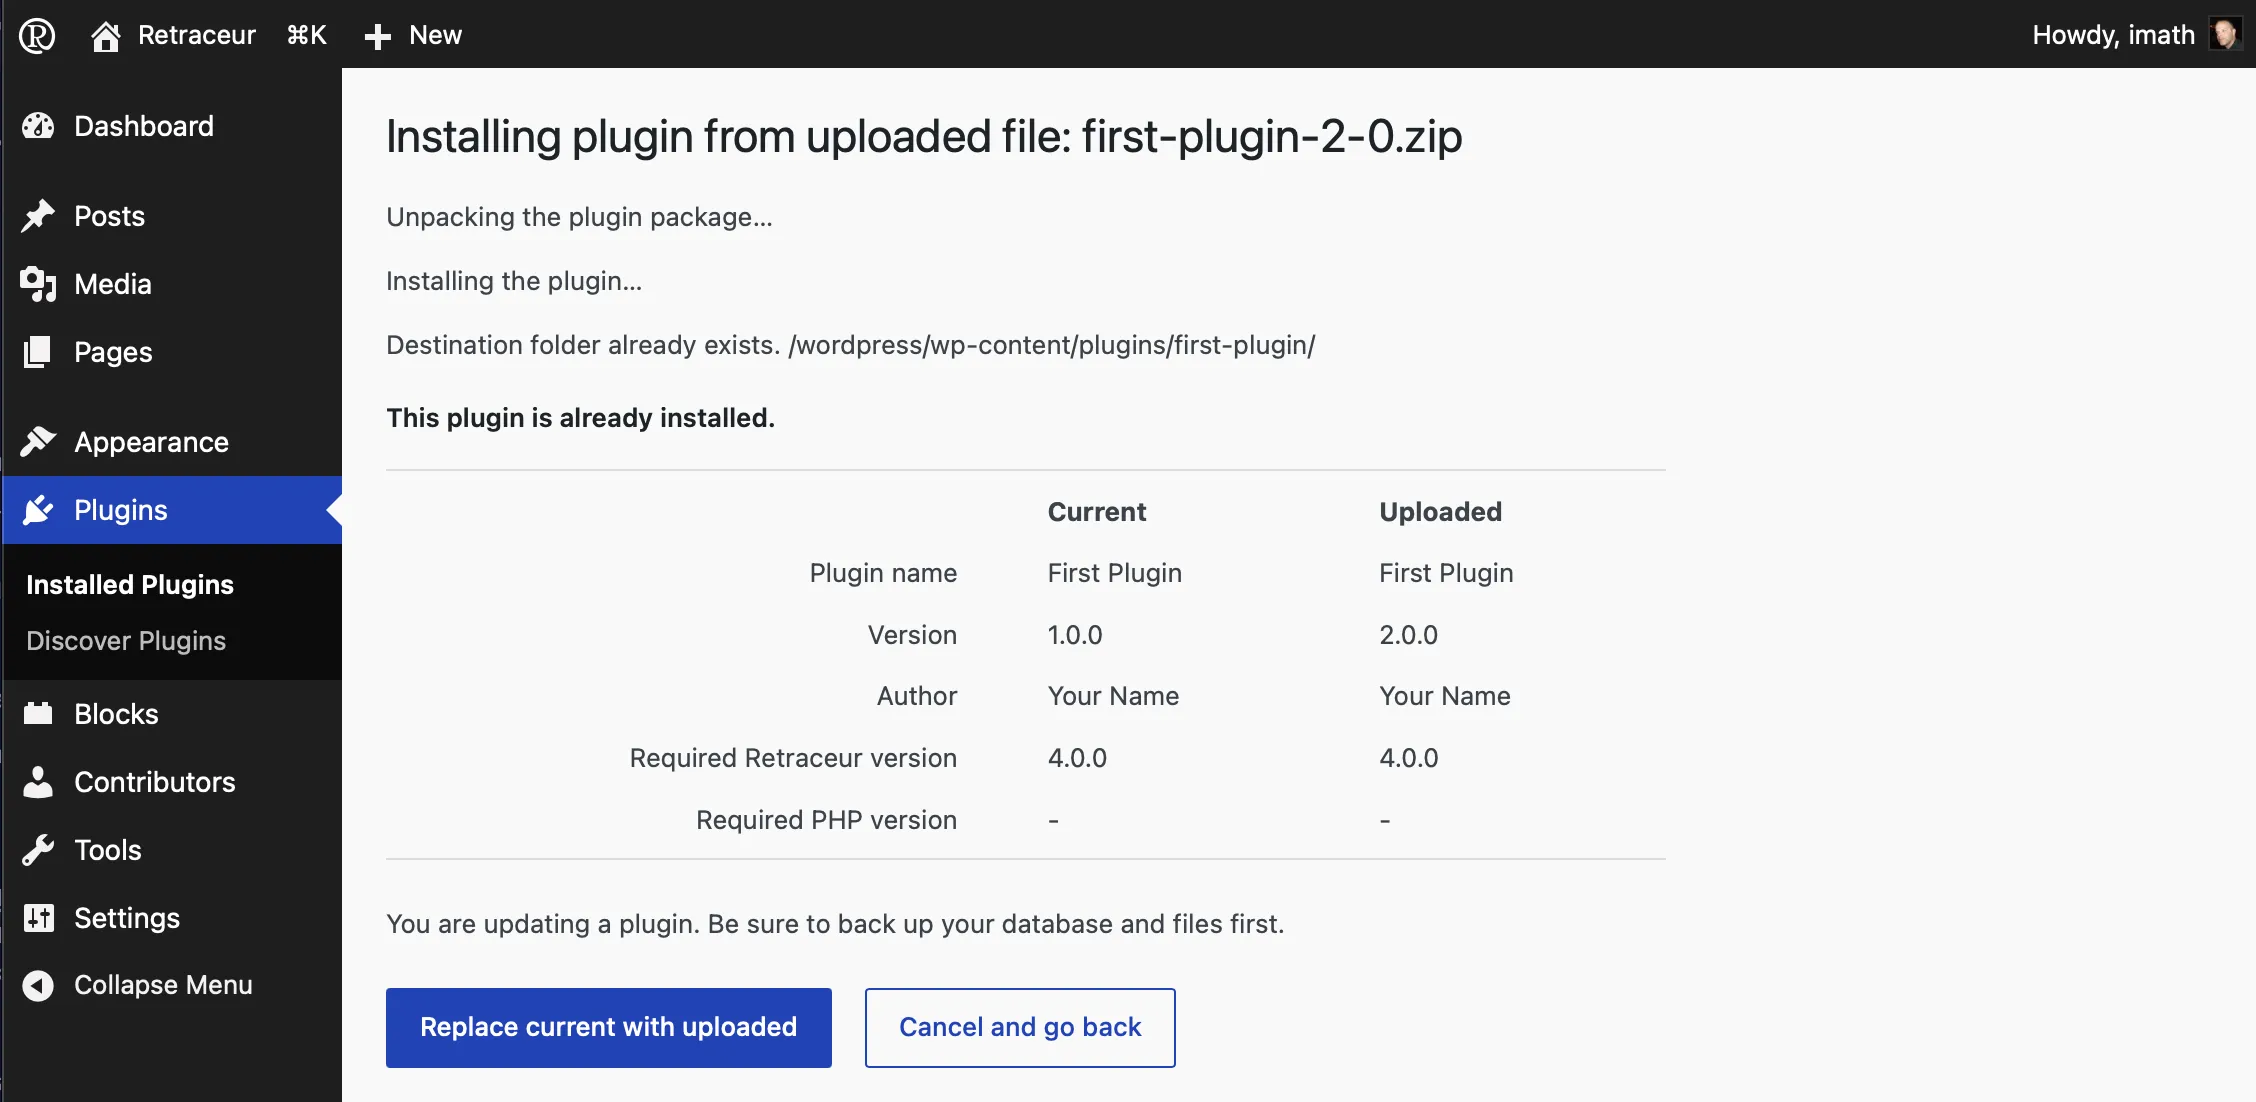
Check the information displayed, especially the “Version” field, to make sure you’re doing what you intend to do. If so, click the “Replace current with uploaded” button; otherwise, click the “Cancel and go back” button. If you choose to continue, a screen will inform you of the installation or update status of your Plugin. Once the process is complete, you’ll find your Plugin in the list displayed on the “Installed Plugins” administration page.
Plugin Activation
Section titled “Plugin Activation”As shown in the screenshot from the Manual Installation subsection, the confirmation message for installing a Plugin includes an “Activate” link to integrate the Plugin into the page-loading process for your website. You can also activate one or more Plugins in two other ways.
Activating Plugins one by one
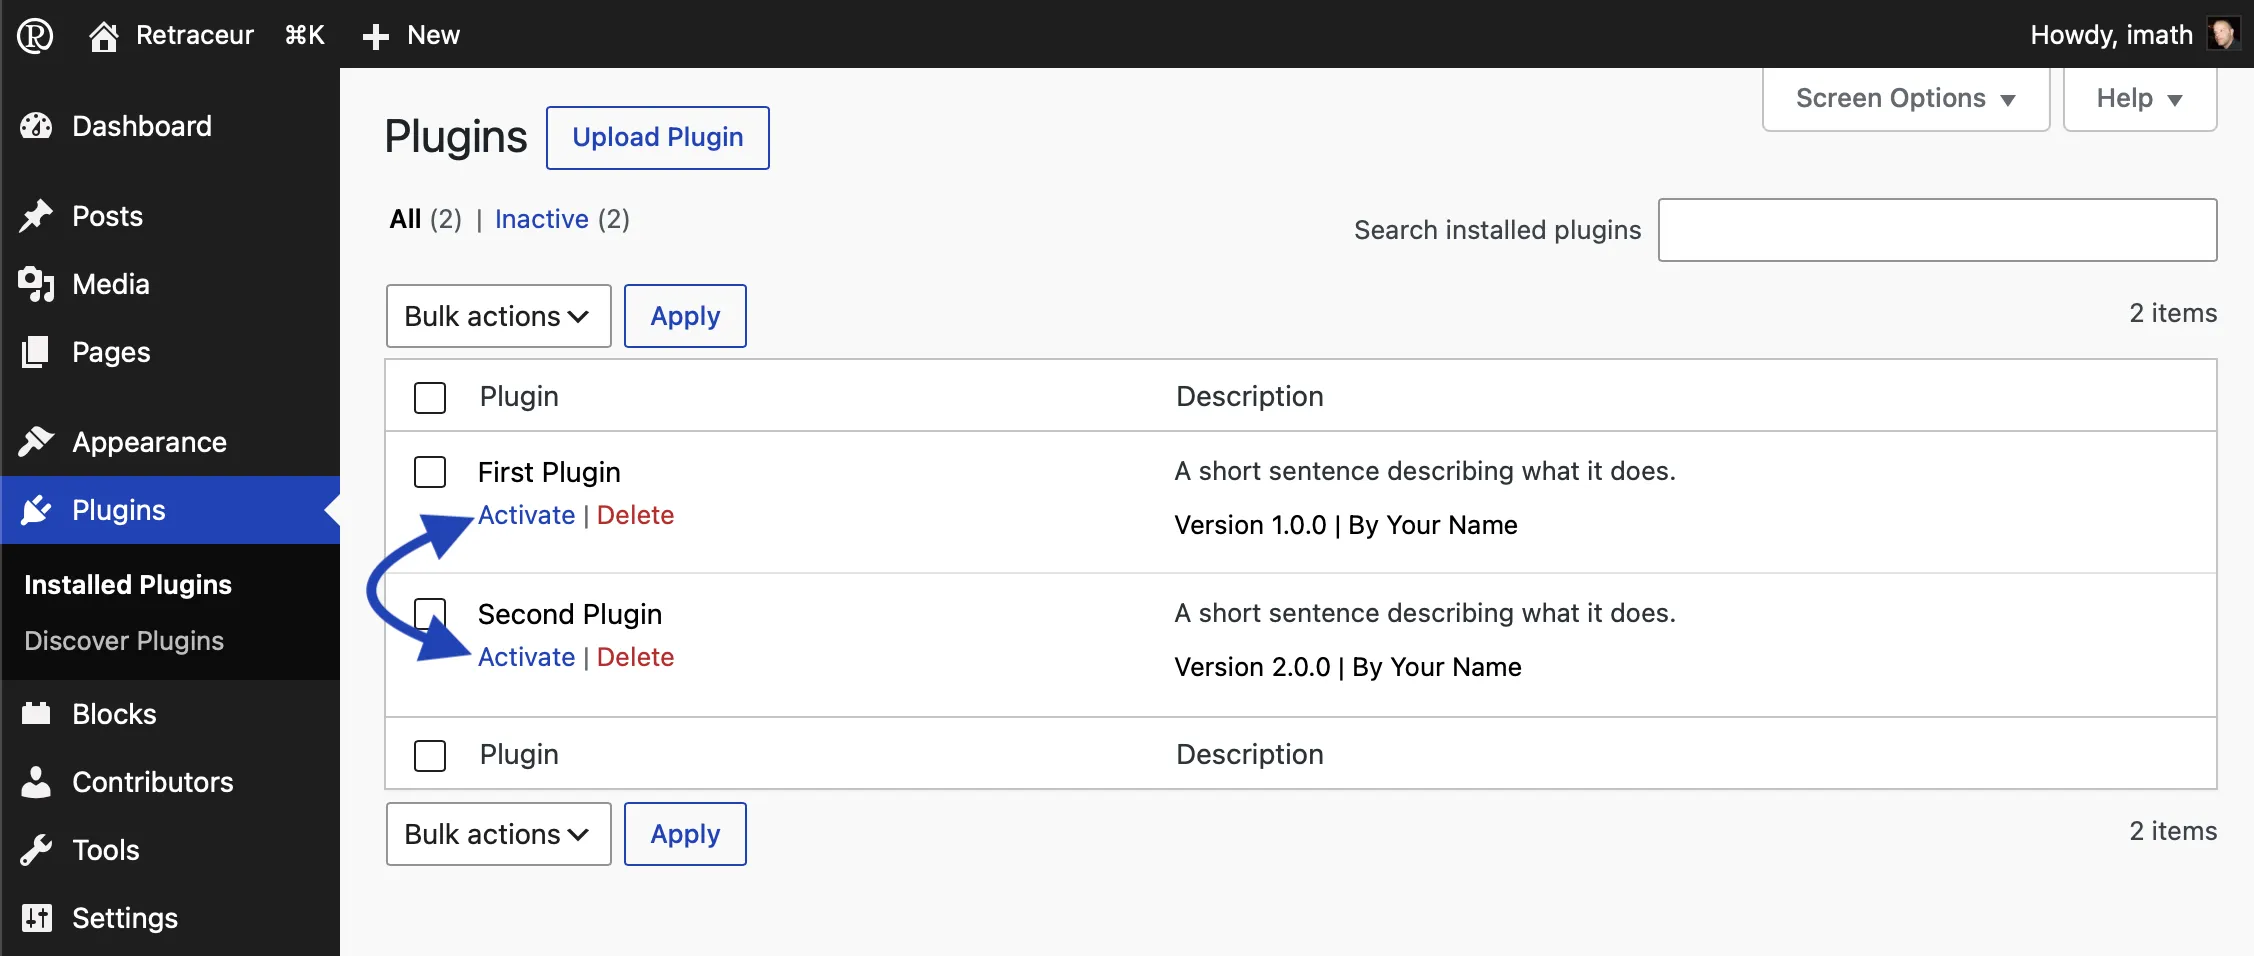
Section titled “Activating Plugins one by one”Under each Plugin’s name, the first blue link lets you activate the corresponding Plugin.
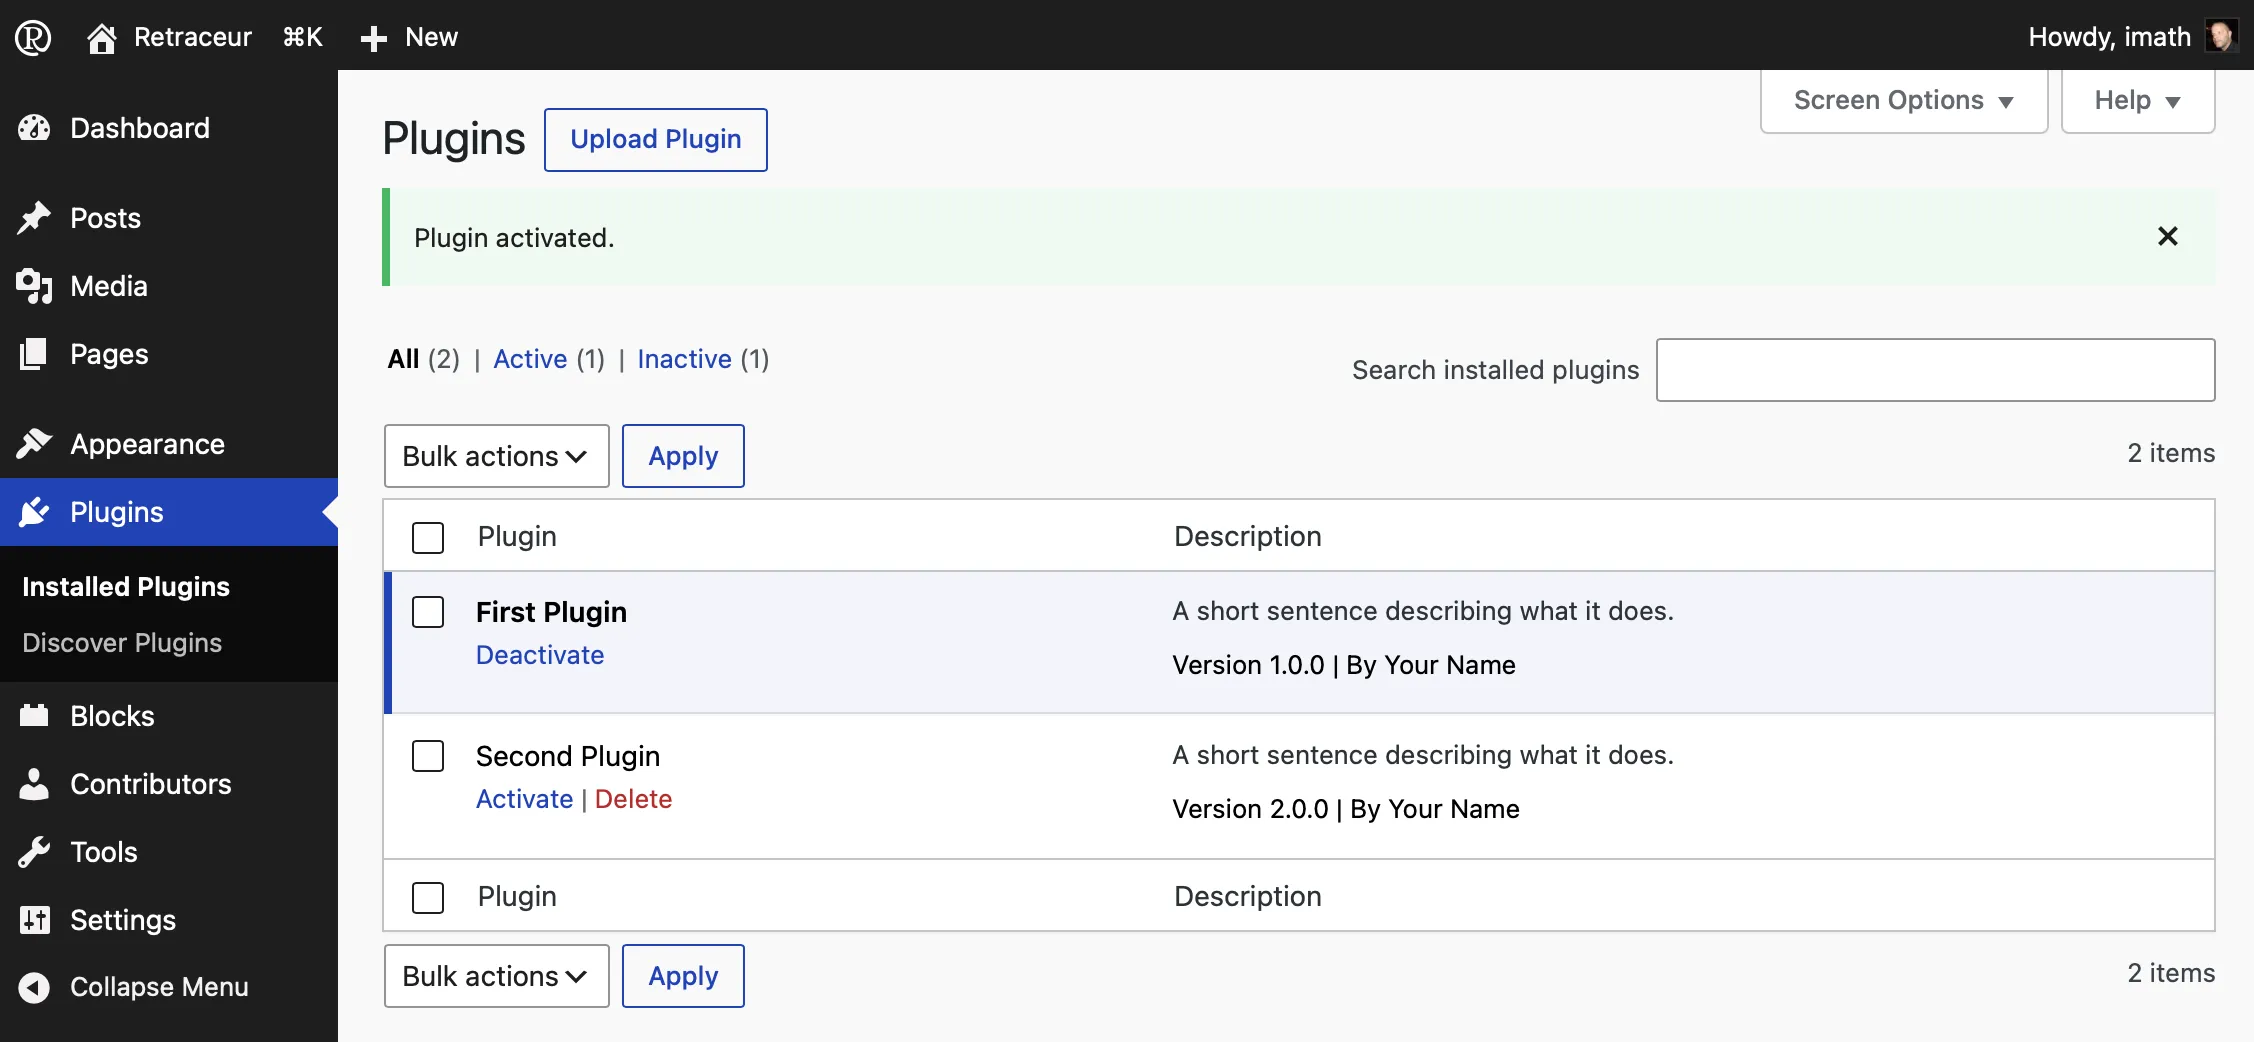
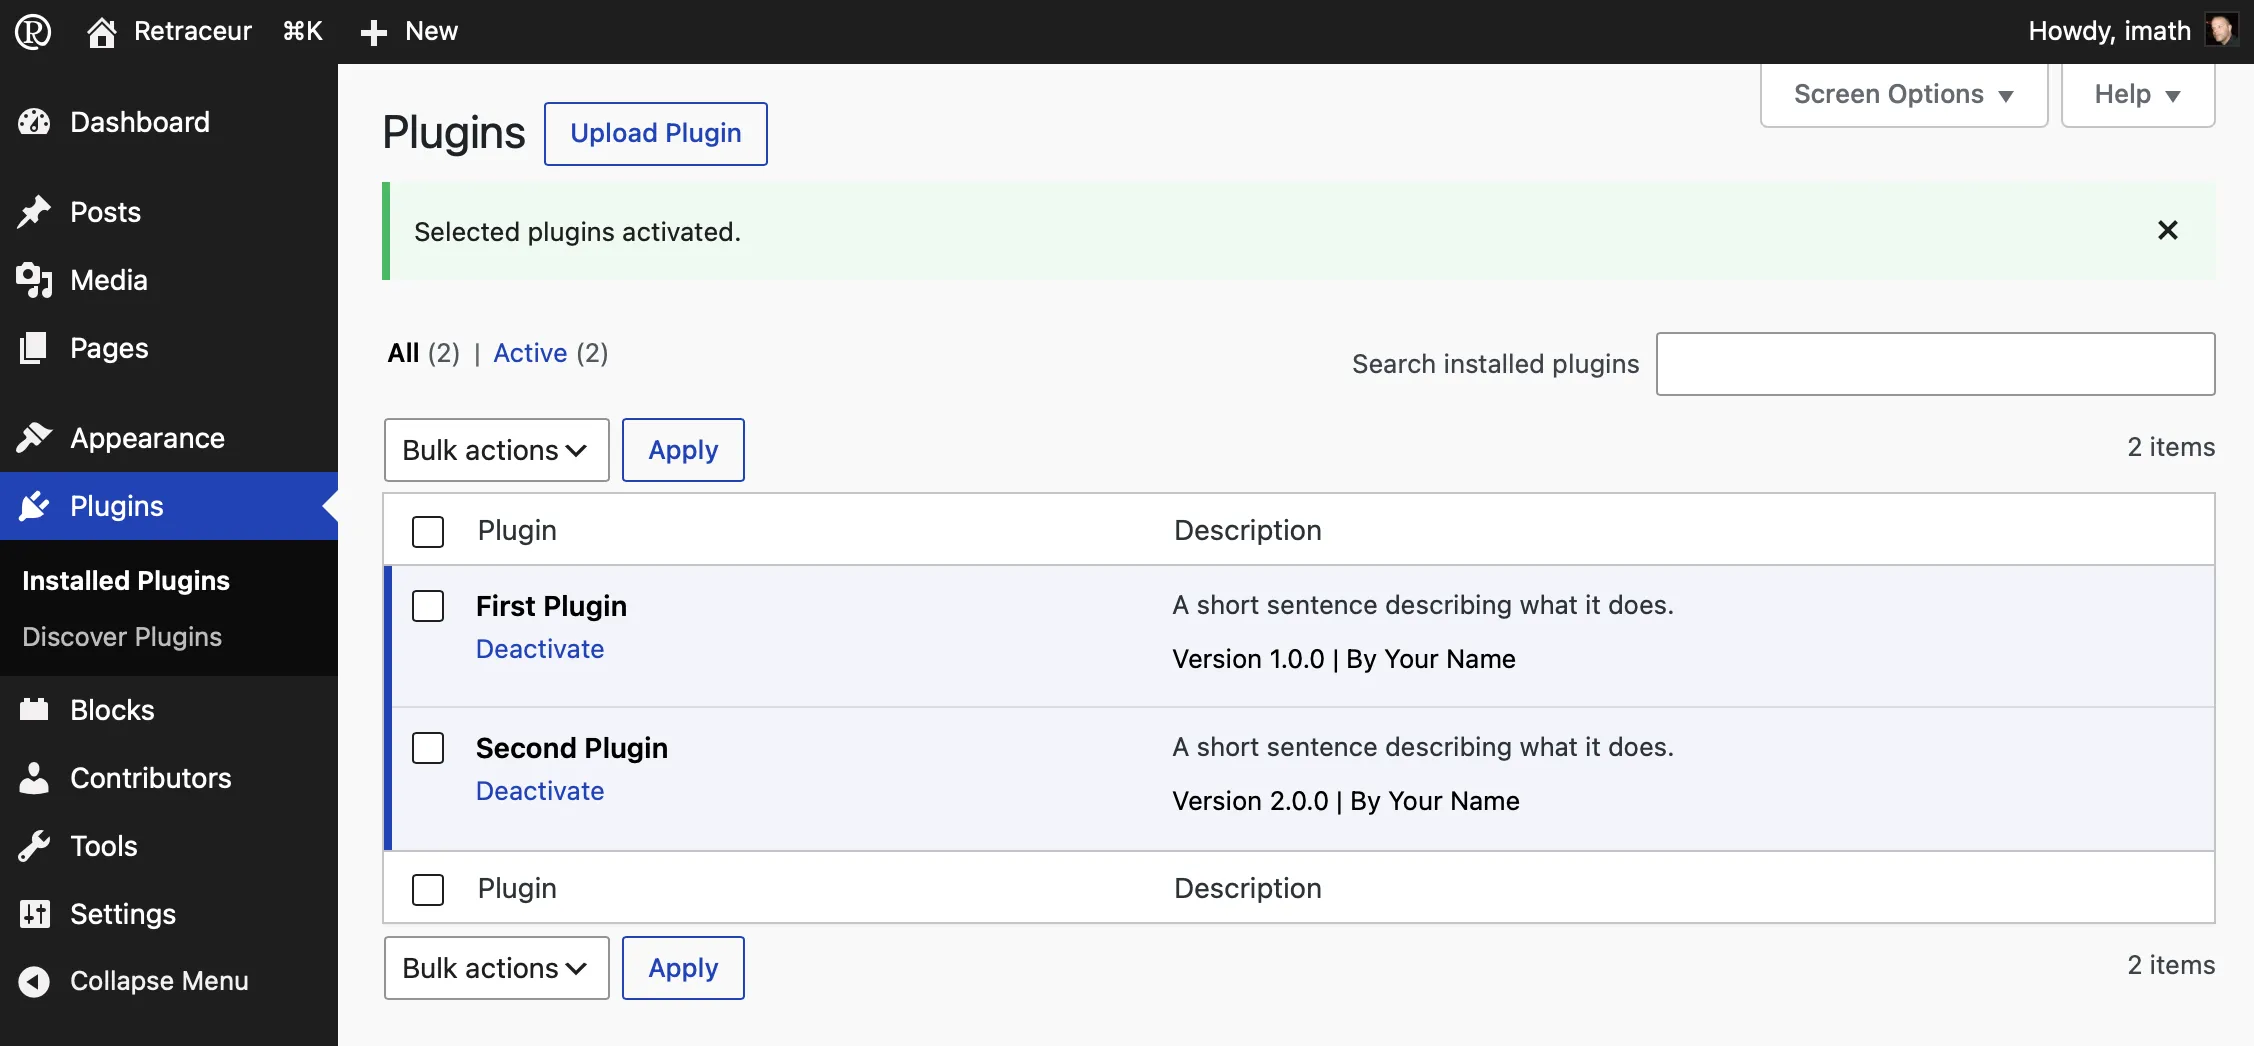
After clicking this link, the page will reload and confirm that the operation was successful with a message on a green background displayed above the table. Additionally, the row in the table corresponding to any activated Plugin will have a thicker, dark blue left border and a light blue background.
Plugin Bulk Activation
Section titled “Plugin Bulk Activation”You can also choose to activate one or more Plugins by selecting the corresponding checkboxes before using one of the two drop-down lists under “Bulk Actions” to define the activation action, as shown below.
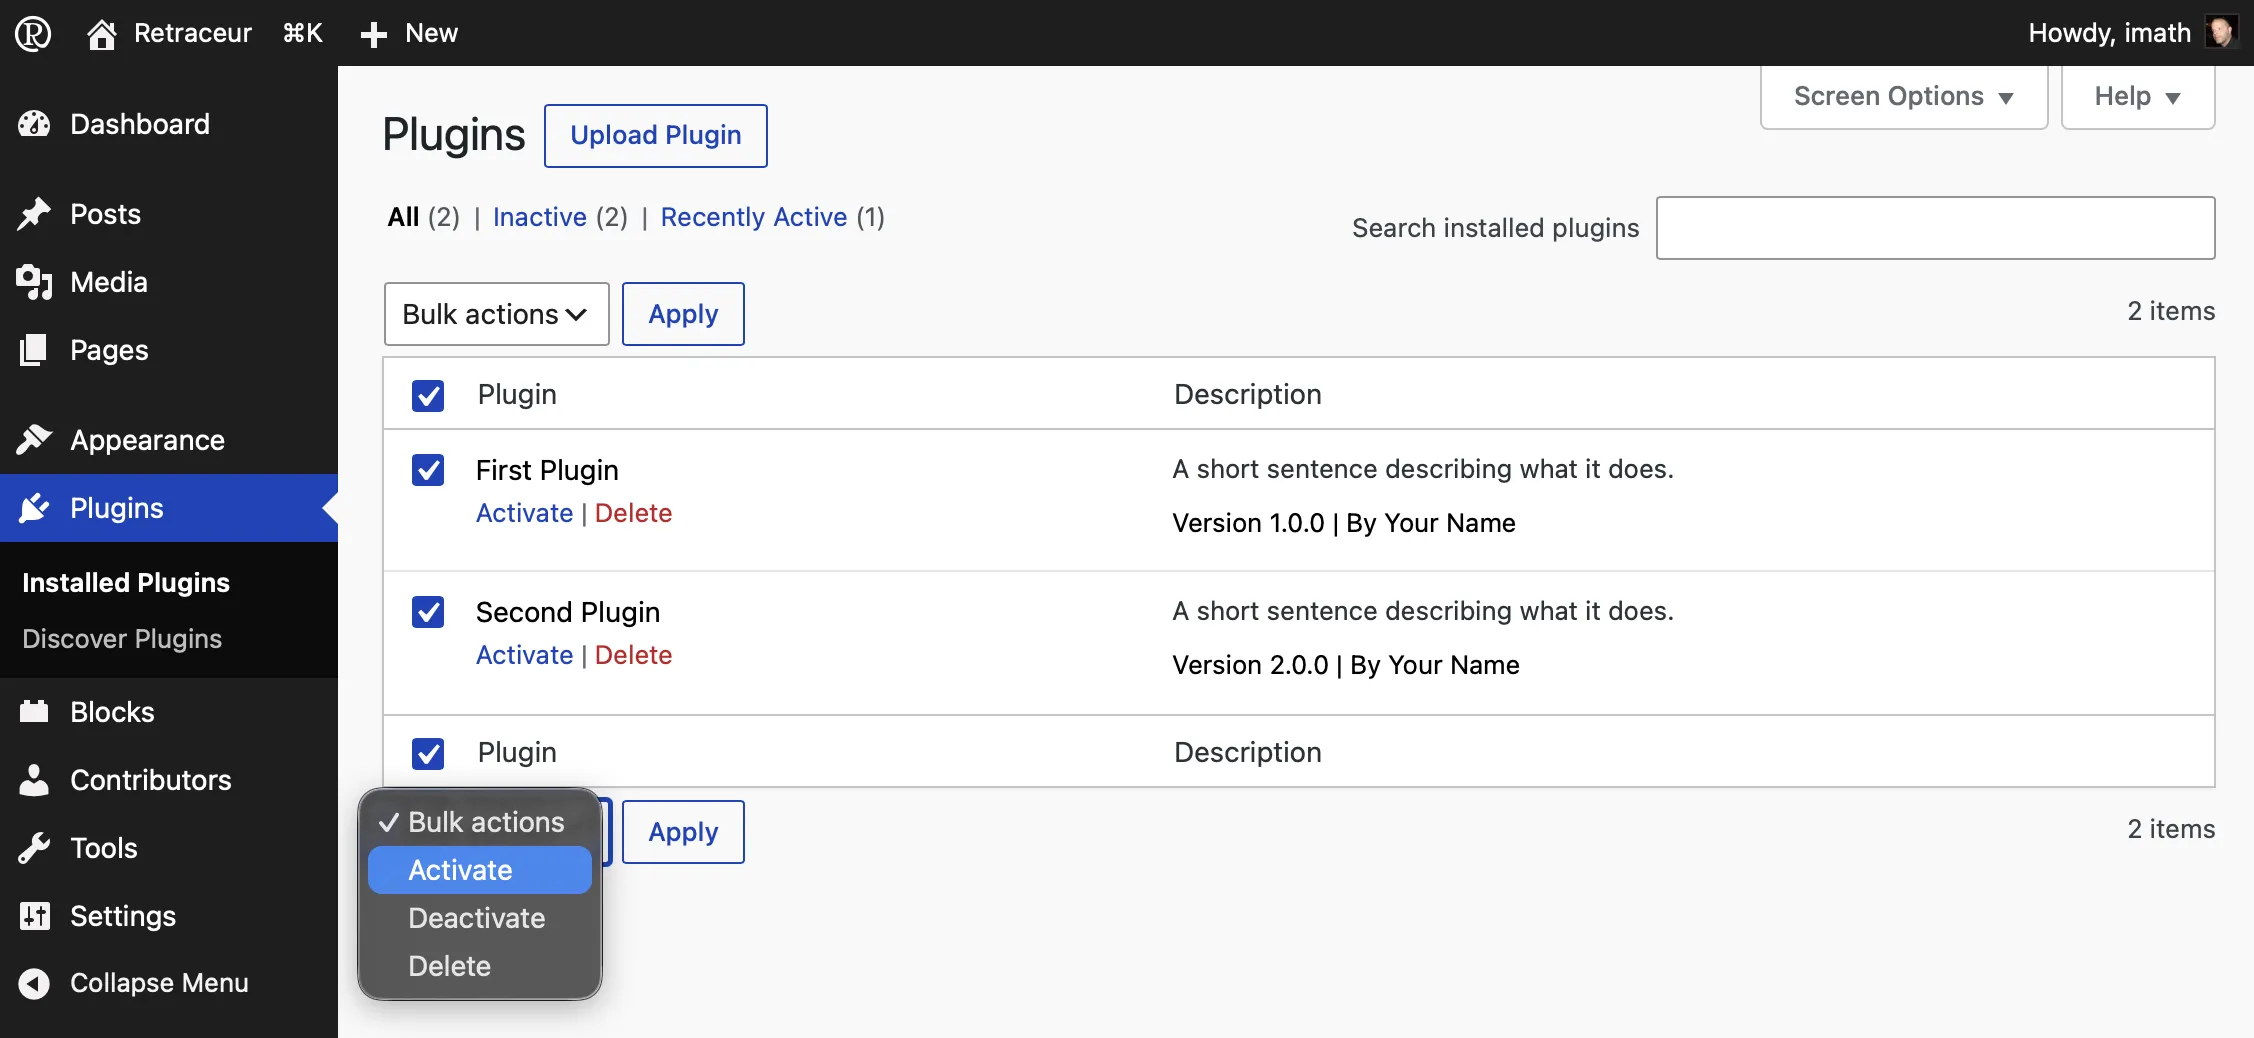
Next, click the “Apply” button to the right of the drop-down list to start the process. When the page reloads, you’ll see that the selected Plugin(s) have been successfully activated, as indicated by a message with a green background located just above the Plugins table.
Deactivating Plugins
Section titled “Deactivating Plugins”There are two ways to deactivate one or more Plugins.
Deactivating Plugins one by one
Section titled “Deactivating Plugins one by one”Below each Plugin’s name, the only link available allows you to deactivate that Plugin.
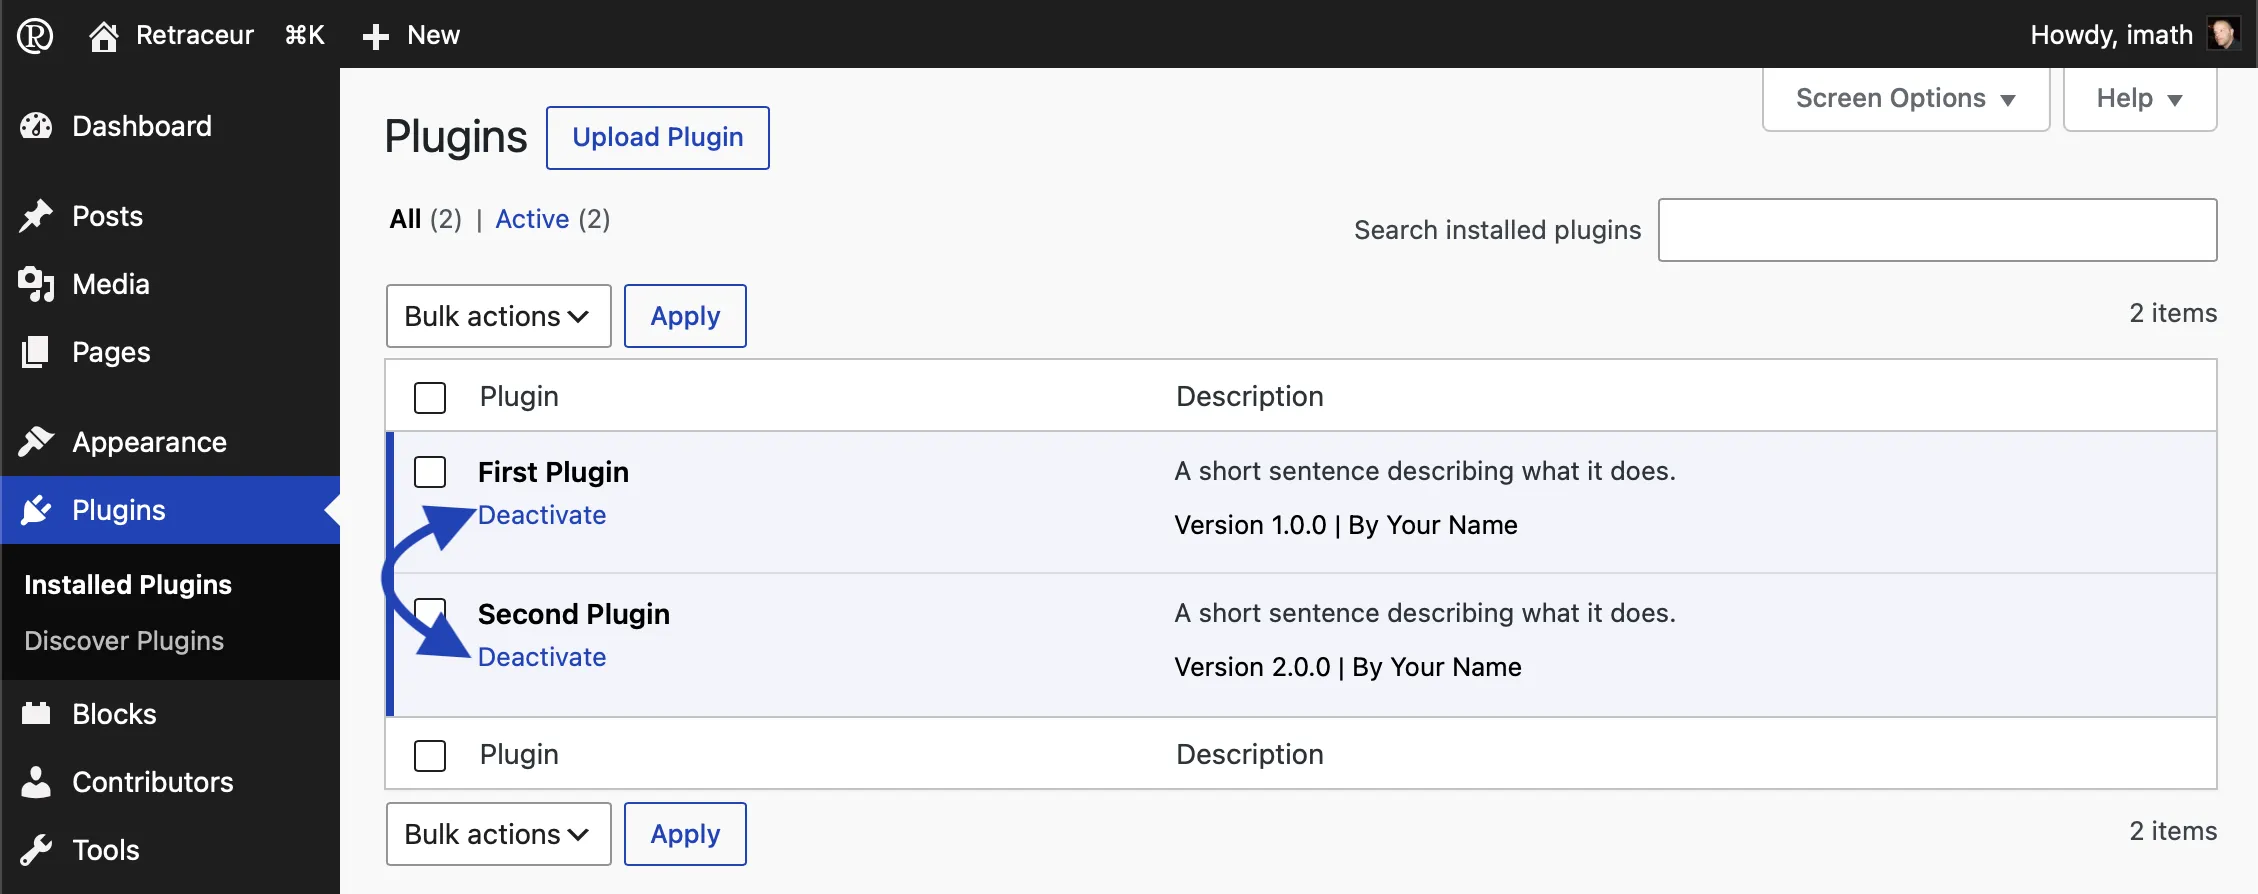
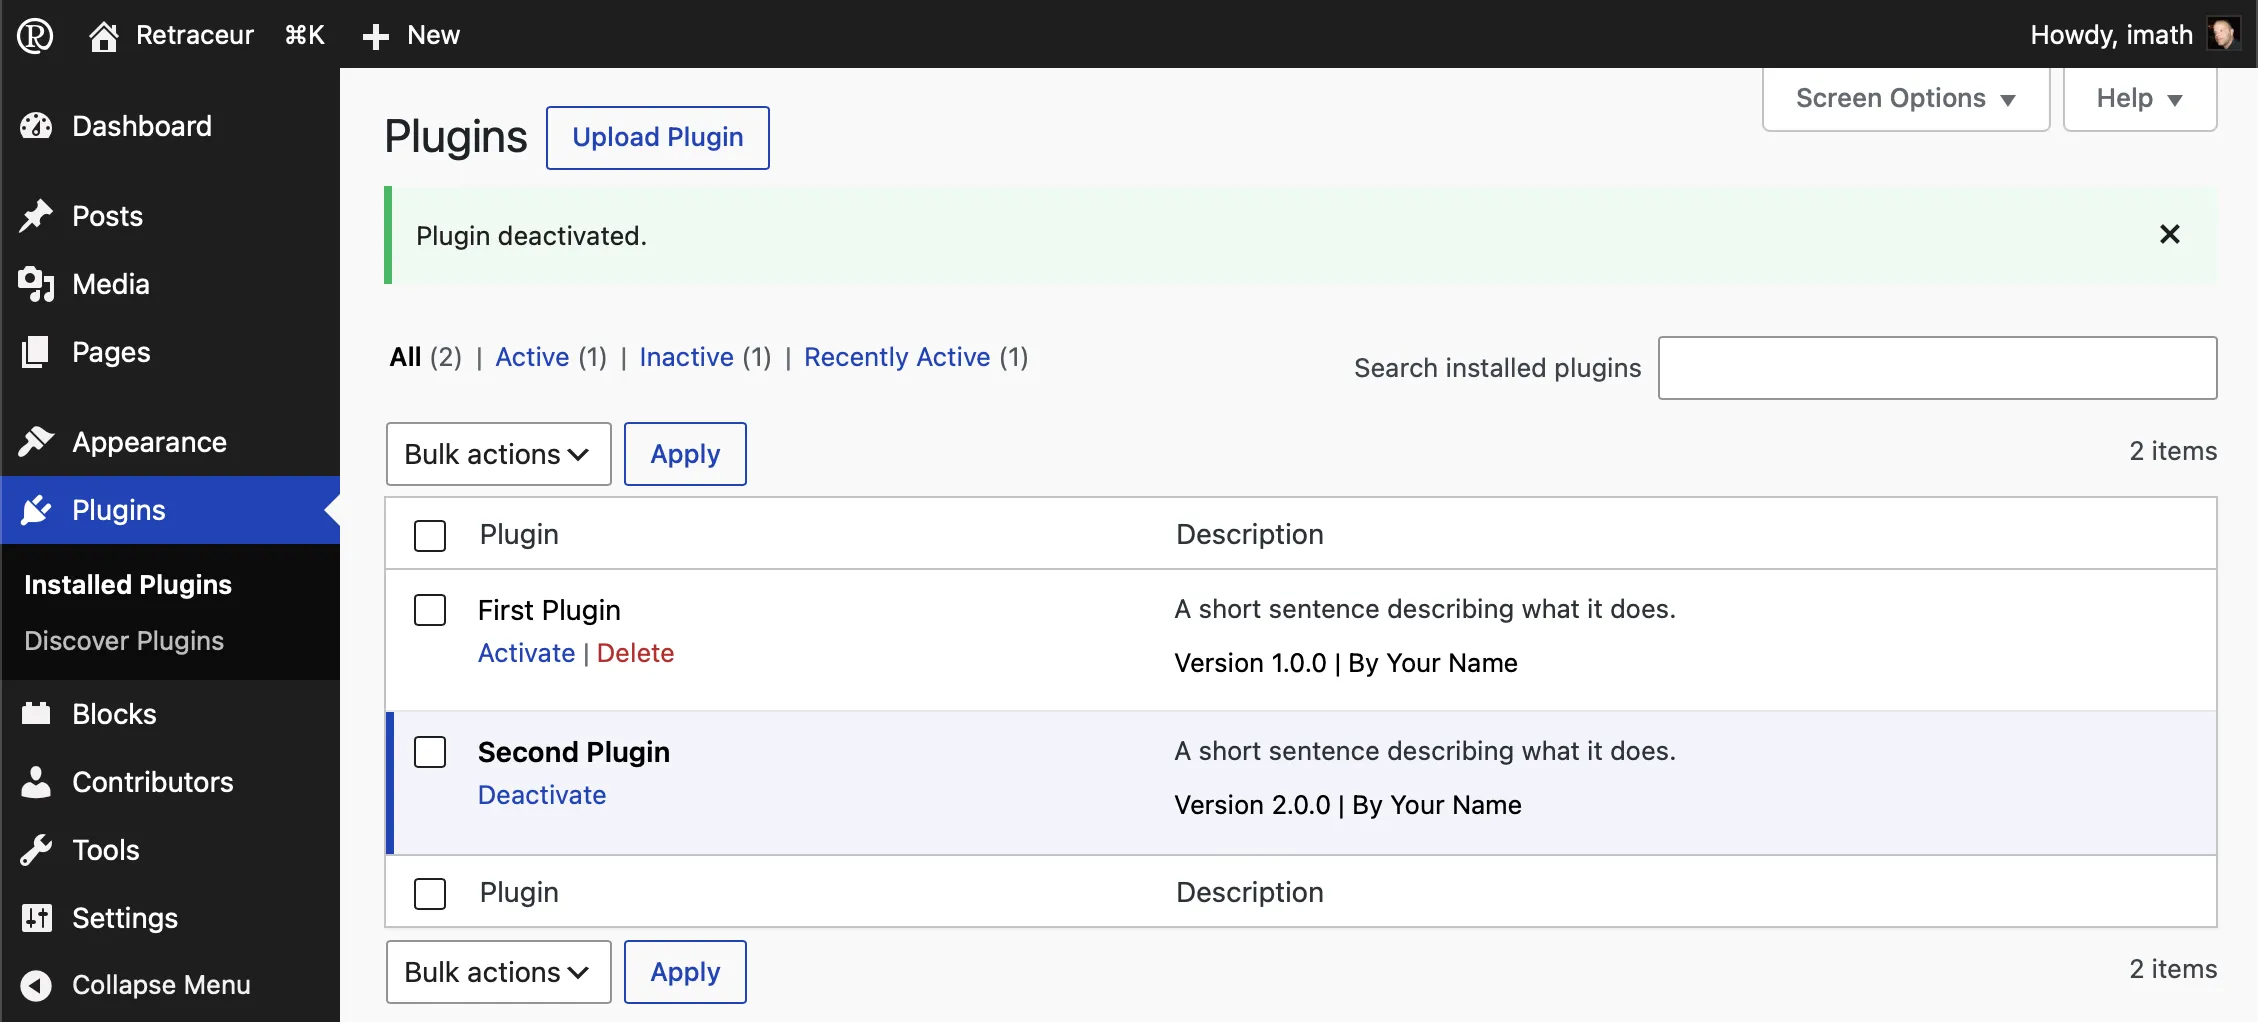
After clicking this link, the page will reload and confirm that the operation was successful with a message on a green background displayed above the table. Additionally, the row in the table corresponding to any deactivated Plugin will not have a thicker border, and its background will be transparent.
Plugin Bulk Deactivation
Section titled “Plugin Bulk Deactivation”You can also choose to disable one or more Plugins by selecting the corresponding checkboxes before using one of the two drop-down lists under “Bulk Actions” to specify the deactivation action, as shown below.
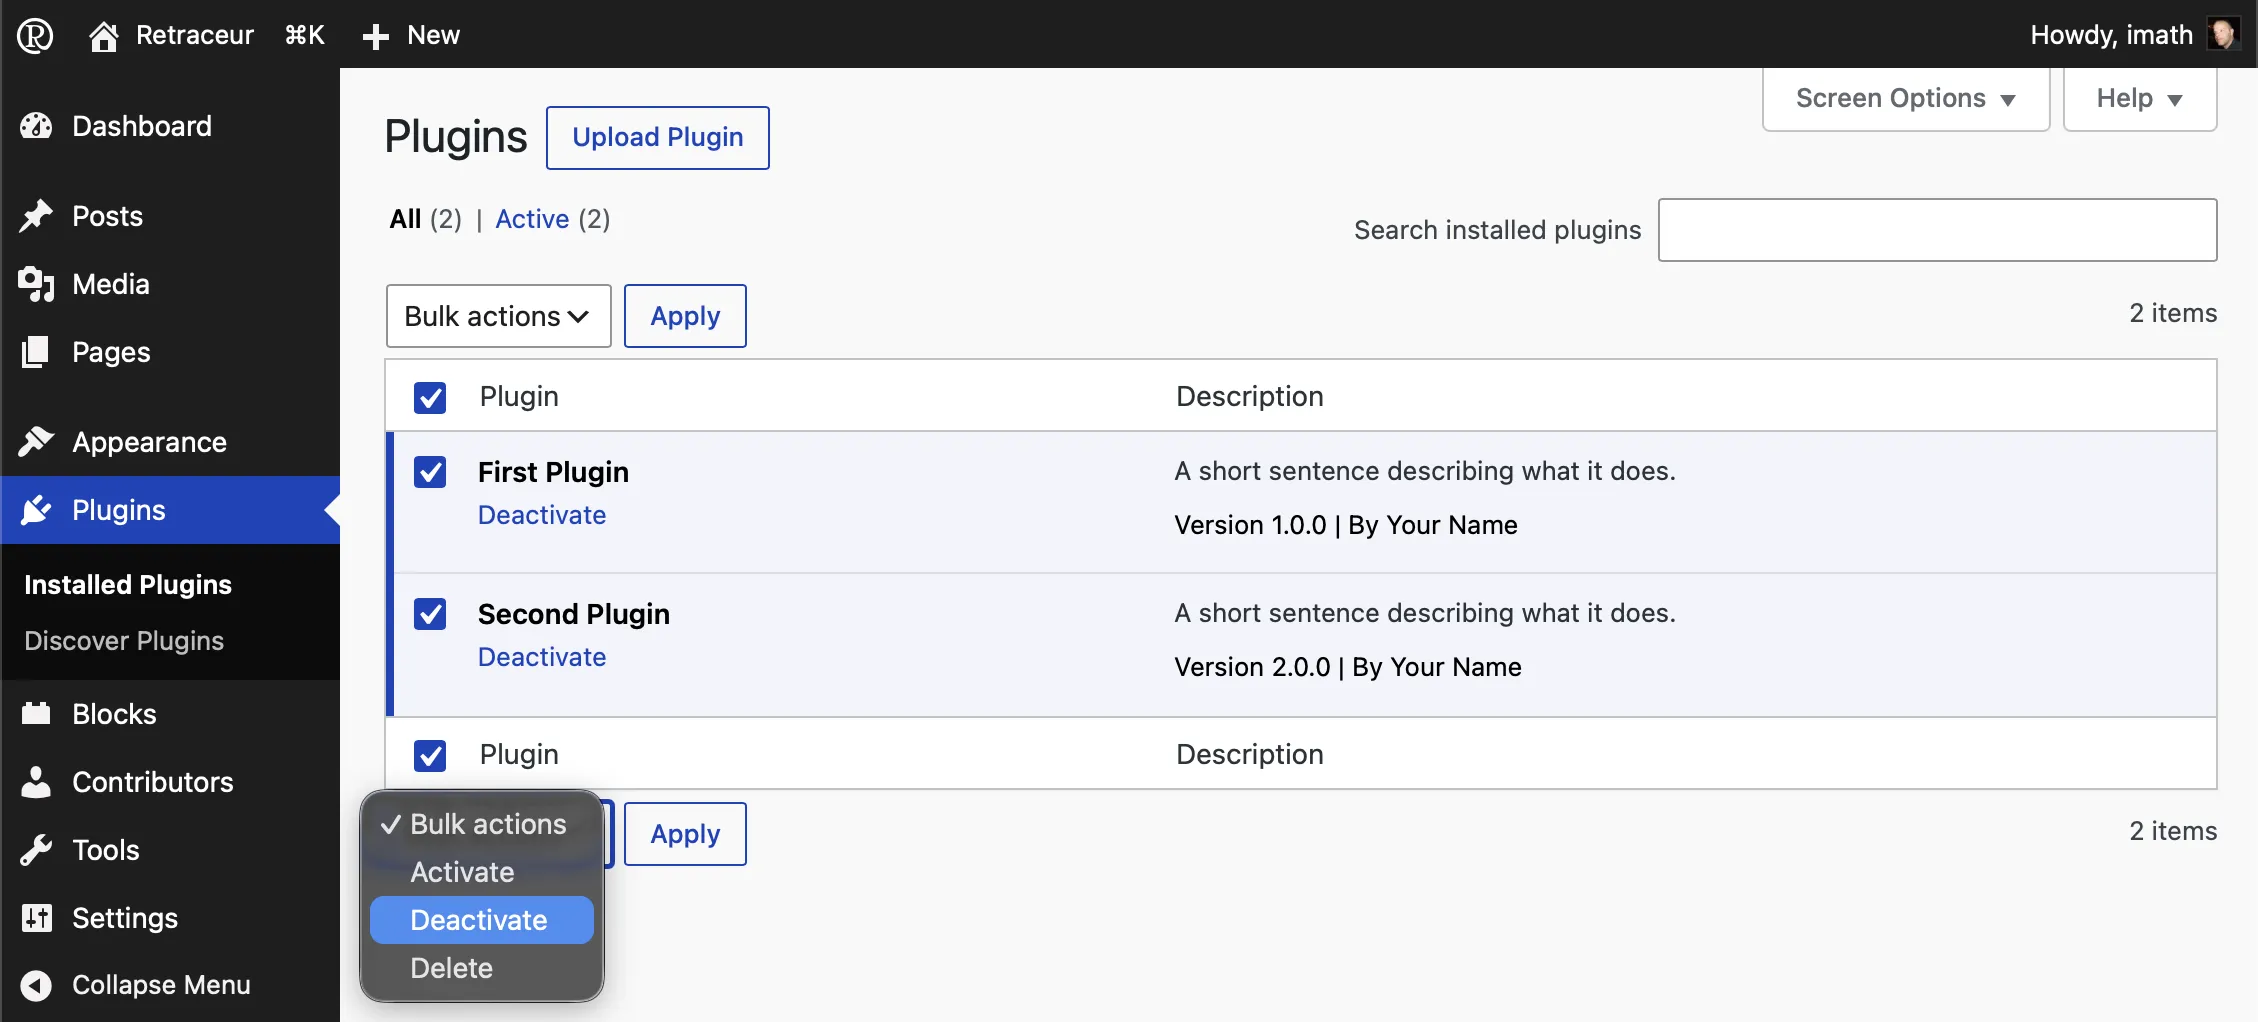
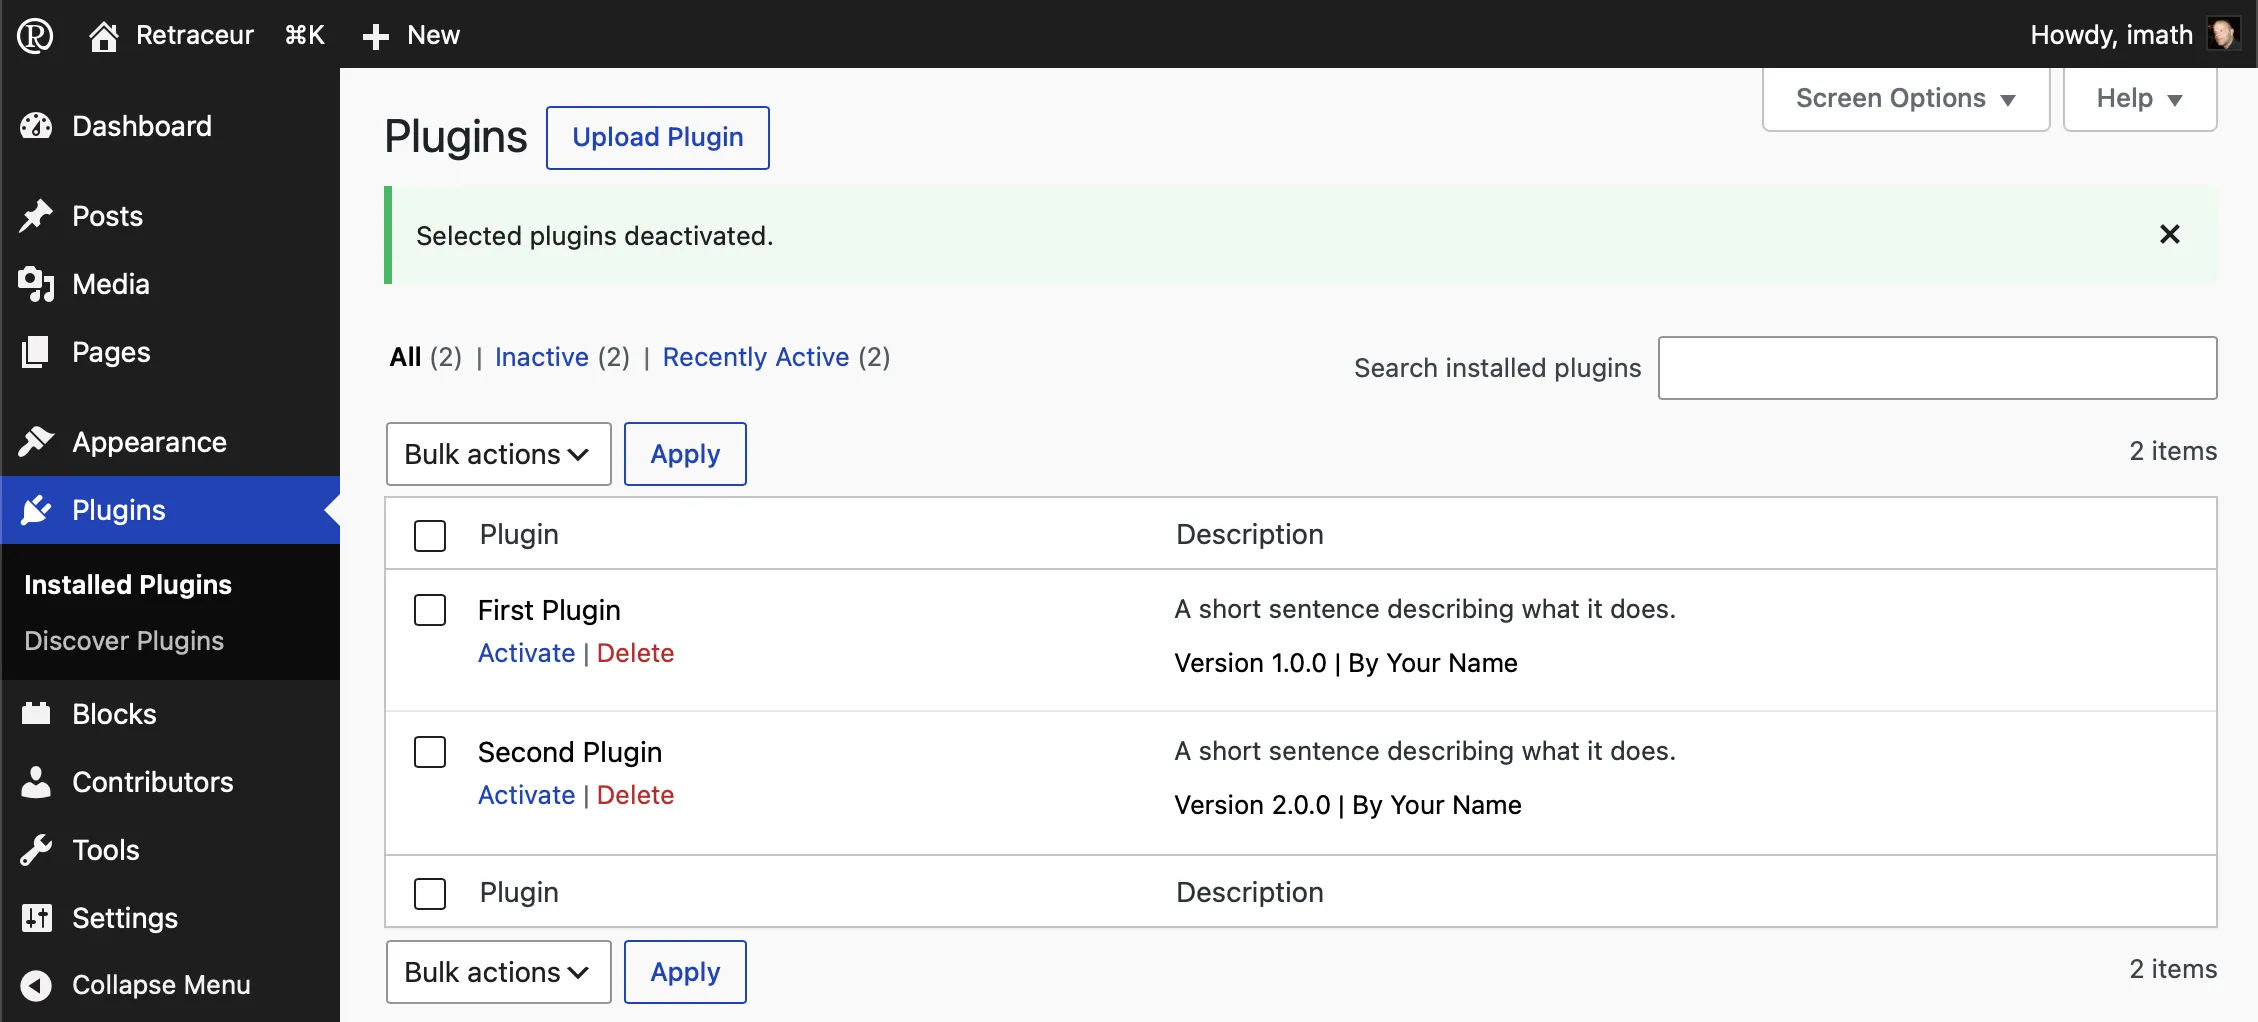
Next, click the “Apply” button to the right of the drop-down list to start the process. When the page reloads, you’ll see that the selected Plugin(s) have been successfully deactivated, as indicated by a message with a green background located just above the Plugins table.
Plugin Uninstallation
Section titled “Plugin Uninstallation”There are two ways to uninstall one or more Plugins.
Uninstalling Plugins One by One
Section titled “Uninstalling Plugins One by One”Under each Plugin’s name, the second link—the one in red allows you to remove that Plugin.
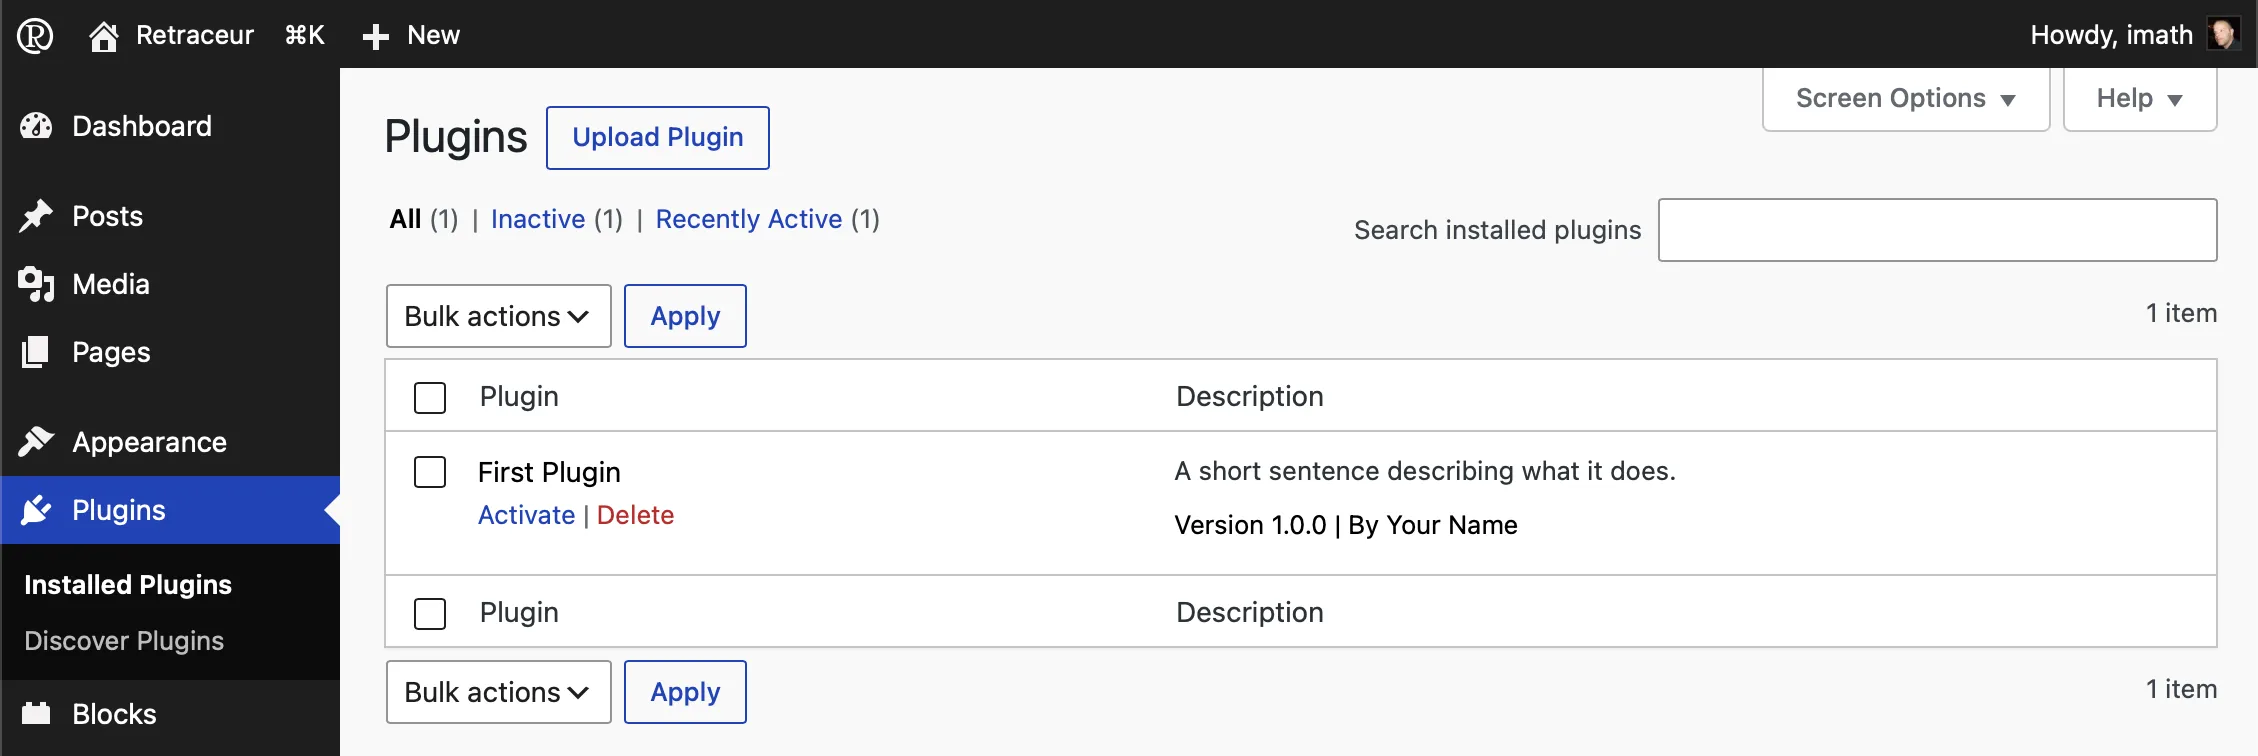
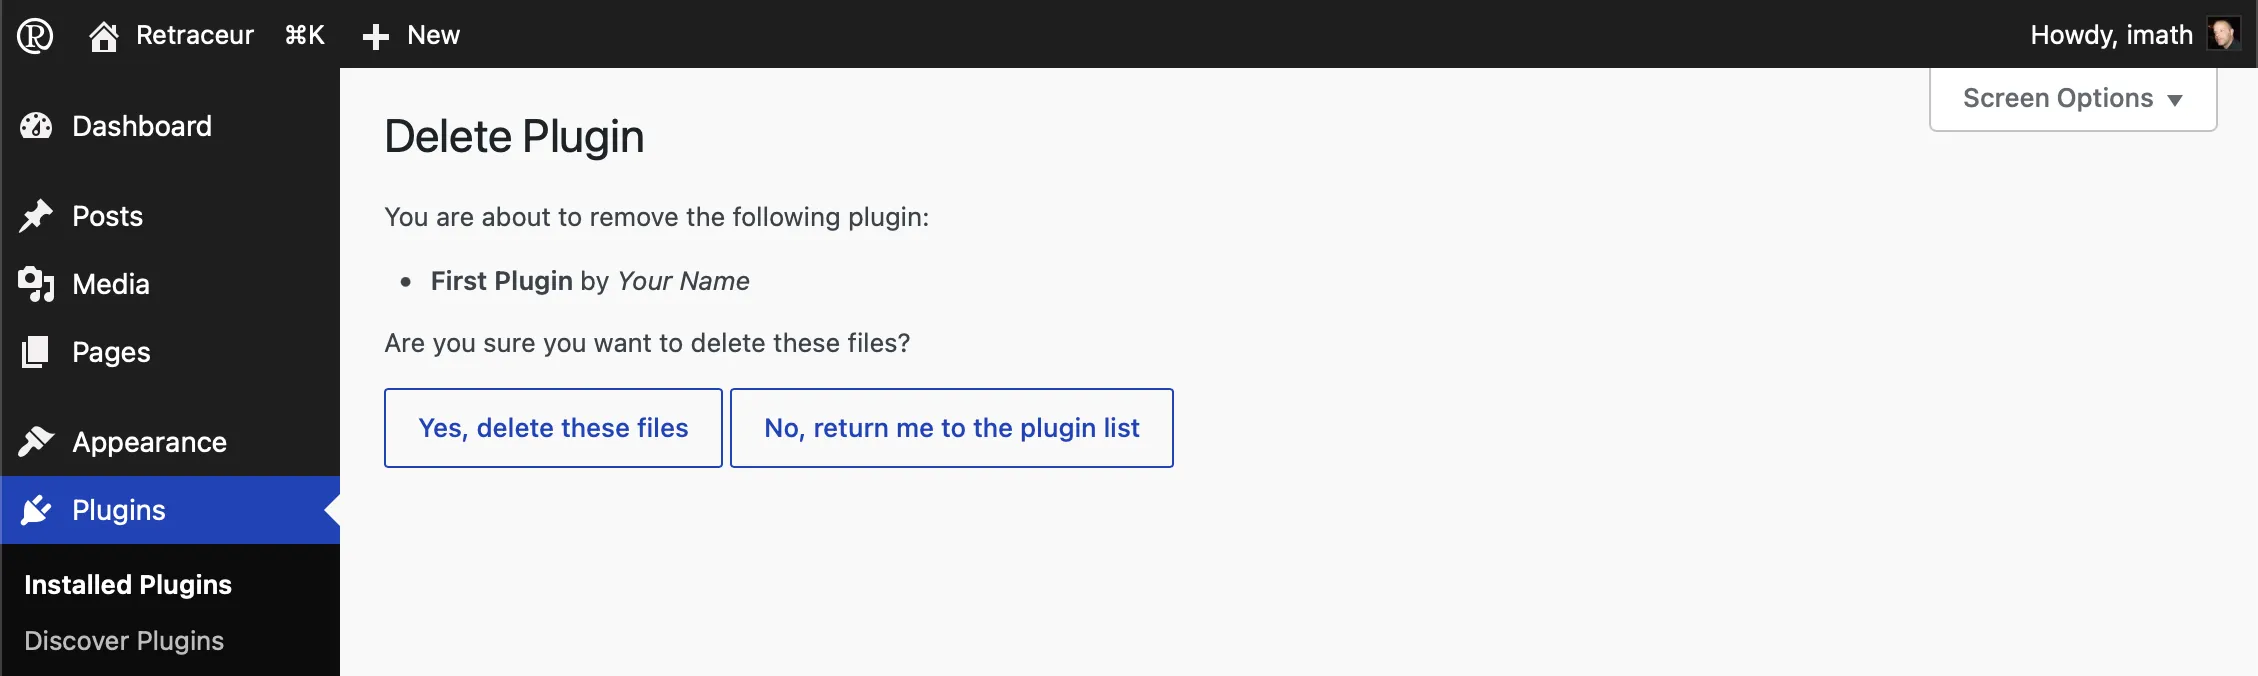
After clicking this link, a specific page will be loaded asking you to confirm your action.
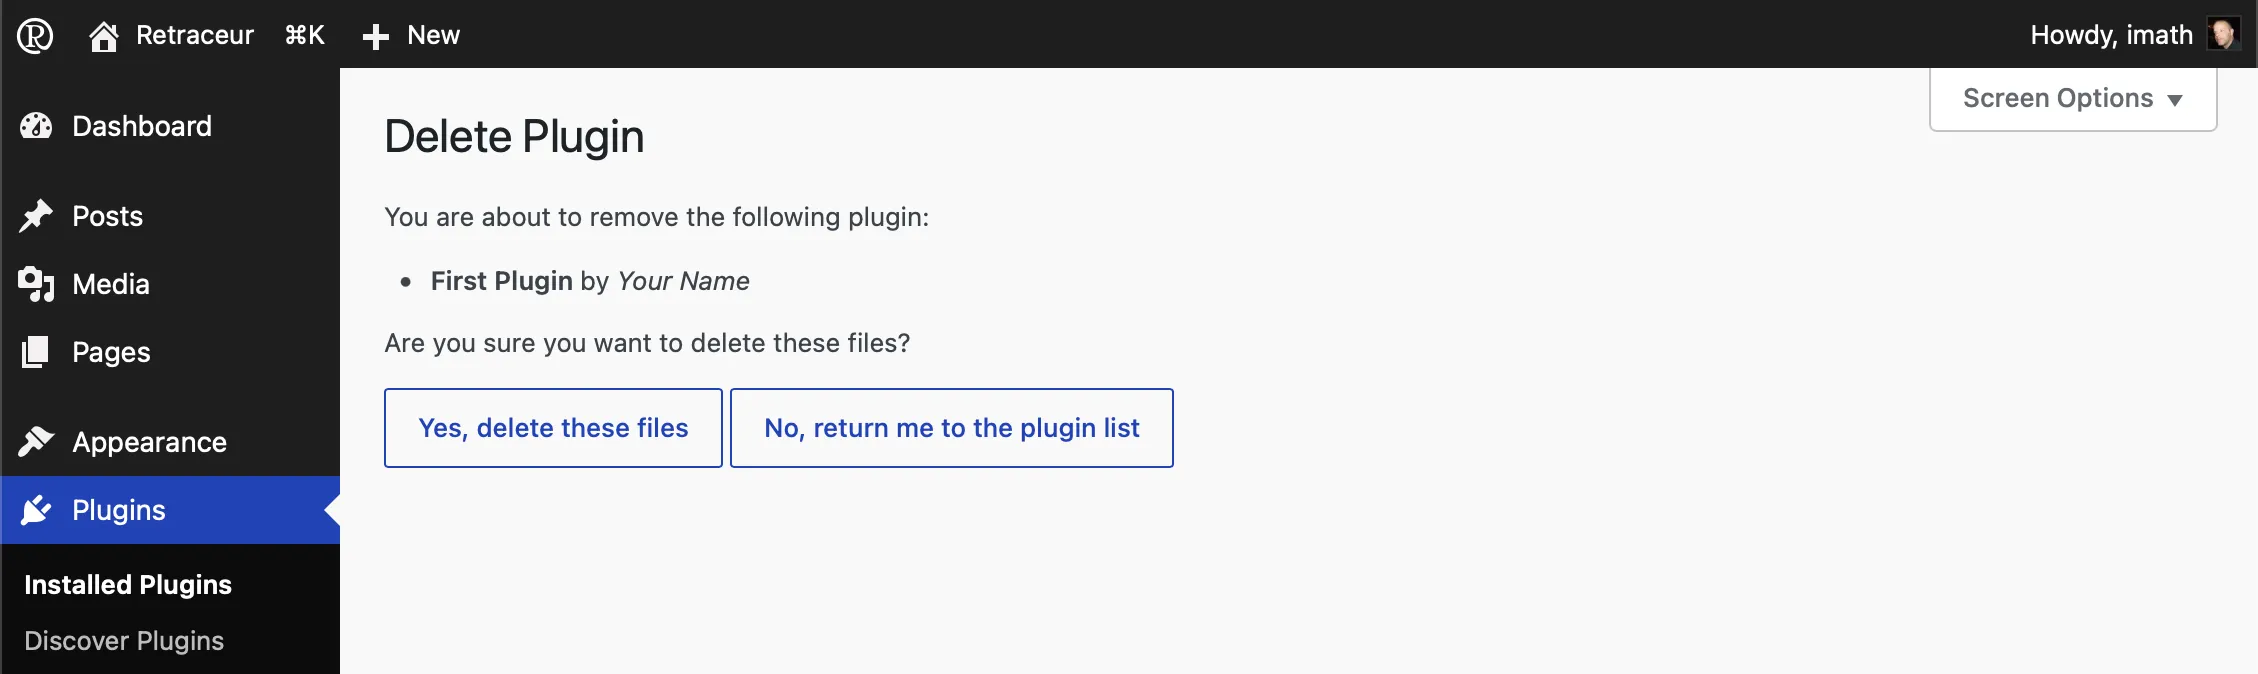
After confirmation, a message confirming that the Plugin has been removed will be displayed into the screen.
Bulk deactivate Plugins
Section titled “Bulk deactivate Plugins”You can also choose to uninstall one or more Plugins by selecting the corresponding checkboxes before using one of the two drop-down lists under “Bulk Actions” to specify the removal action, as shown below.
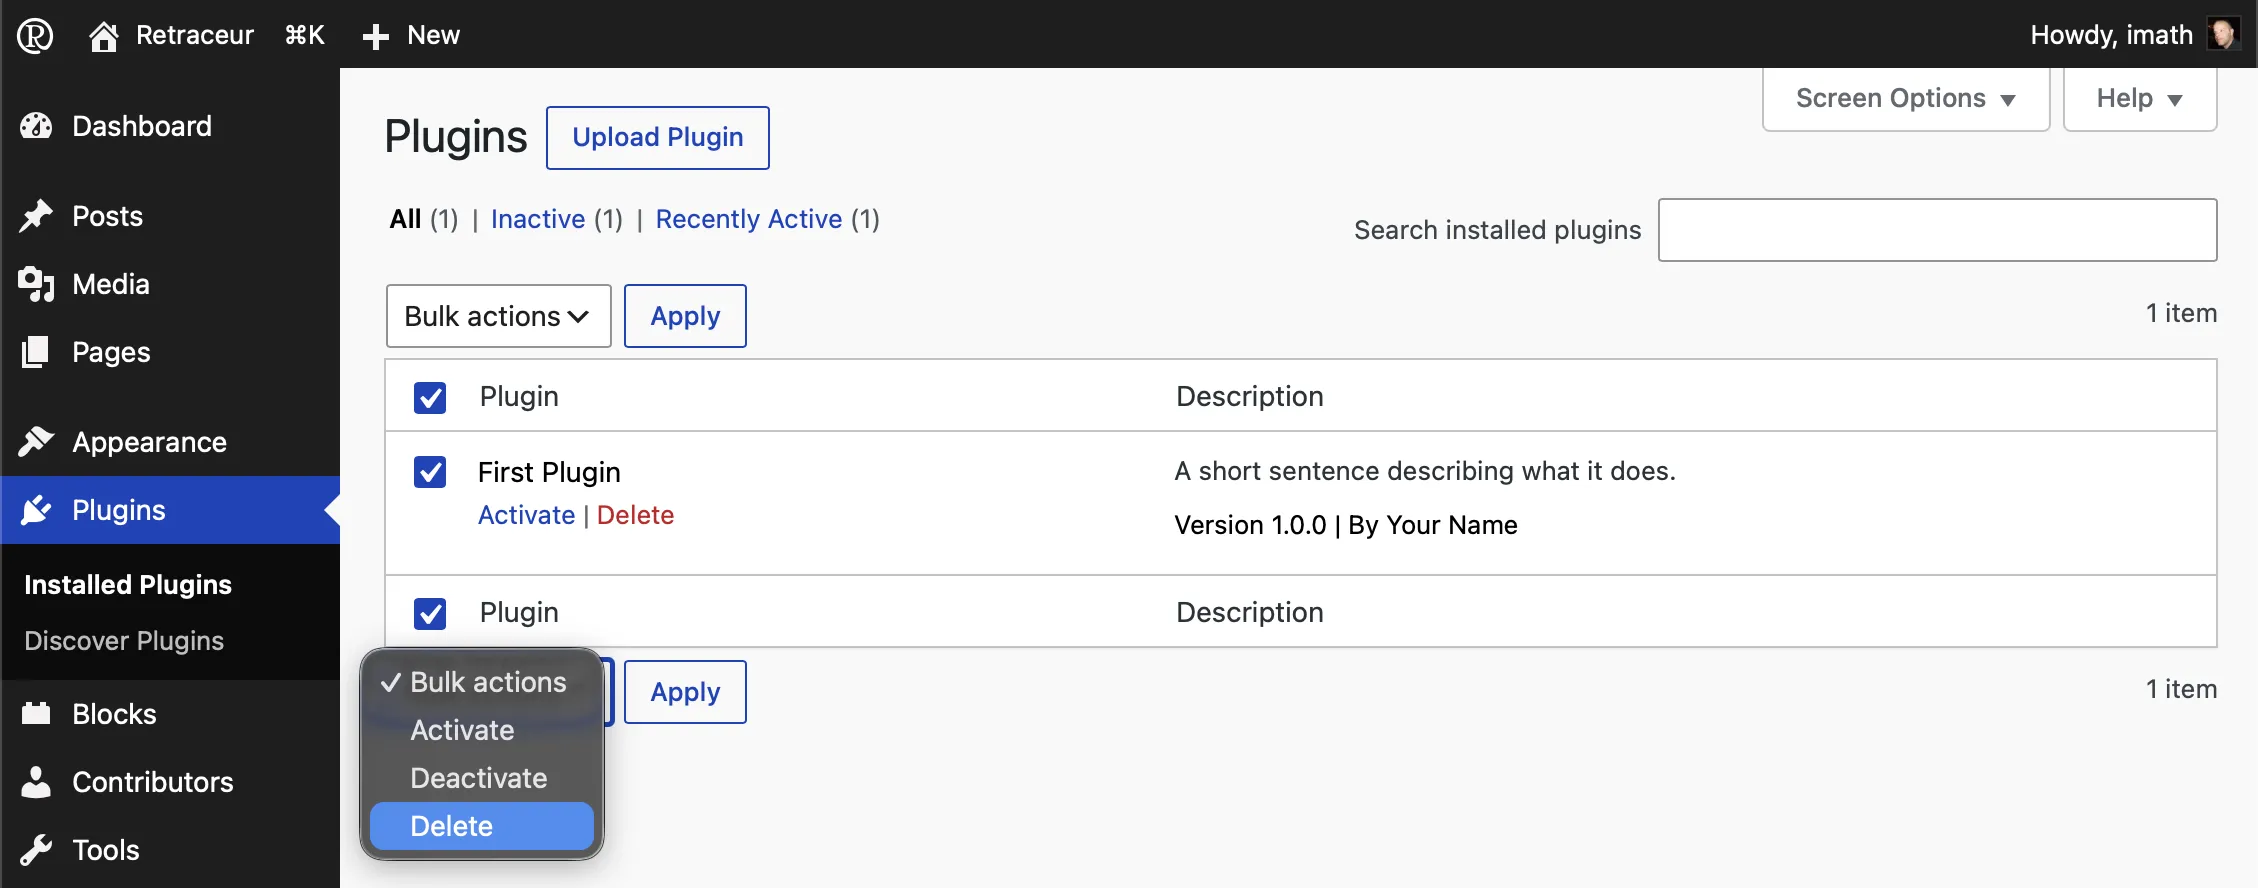
Next, click the “Apply” button to the right of the drop-down list. An intermediate page will ask you to confirm that you want to remove the selected Plugin(s). Once confirmed, the Plugin(s) will be uninstalled.